3D Galeri
Topluluğun ve kütüphanenin en iyi modellerini keşfet.
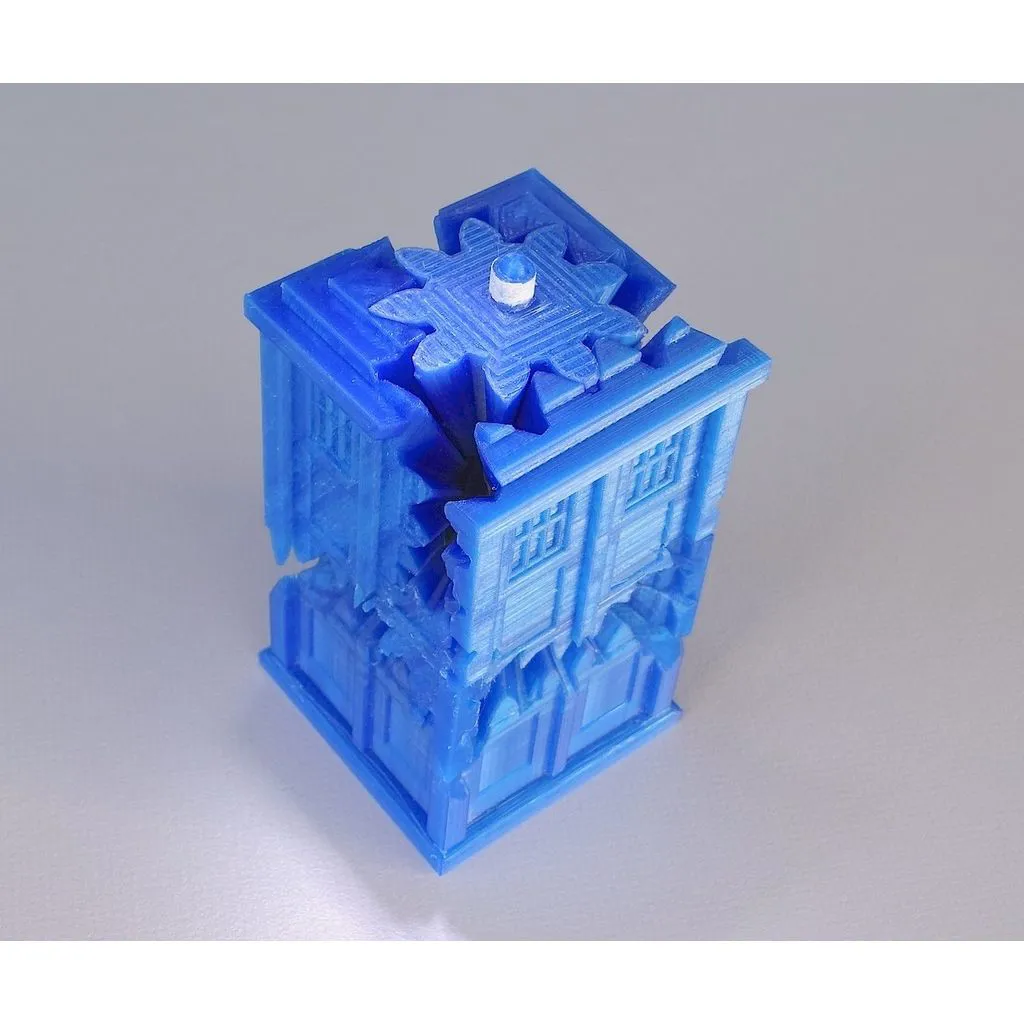
Tardis Gears
This has been created with my new PLA gear kit. With this new OpenSCAD kit, the gear centre and pins remain the same, it is only the outer shells that changes. This will allow the creation of all sorts of gear object mashups.
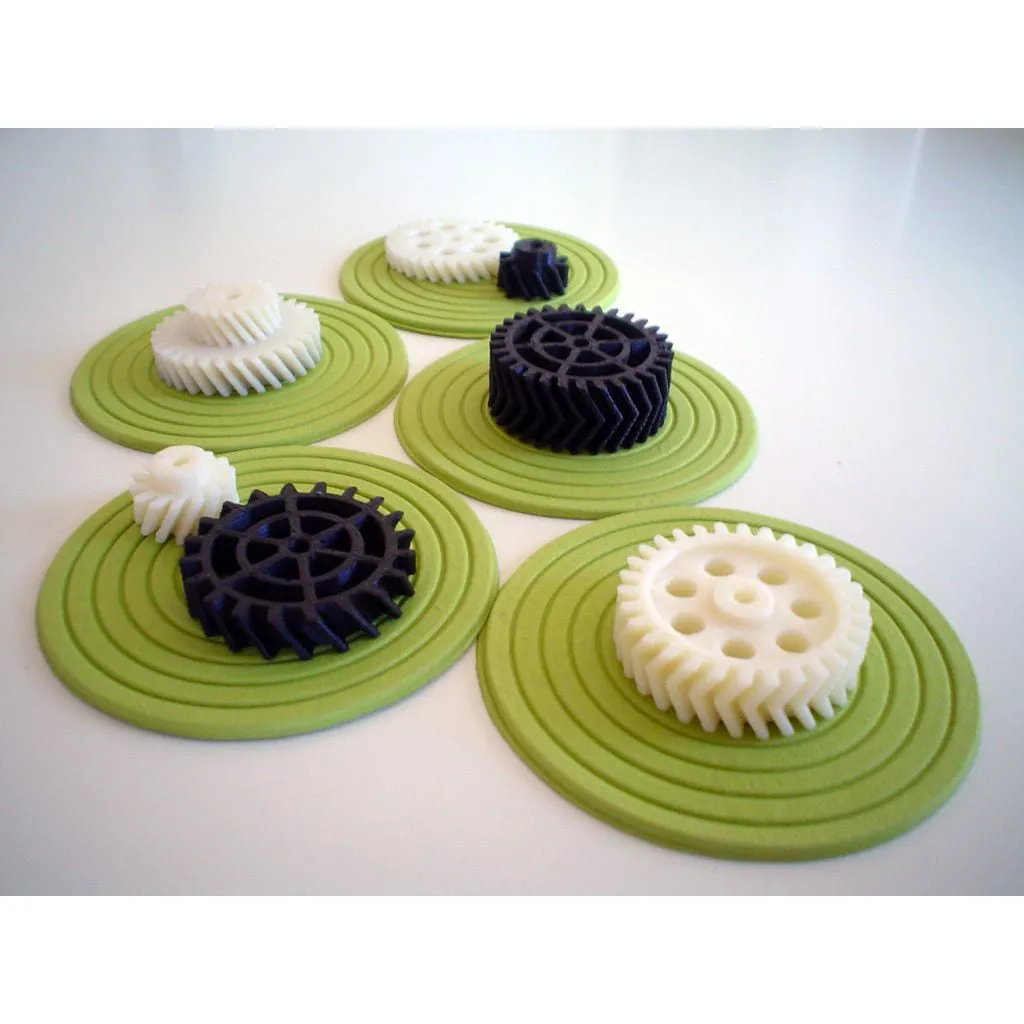
OpenSCAD Helical Gears
This is the second half of my http://openscad.org gear sets. I couldn't get the top and bottom parts of the double helical to union properly, so I ended up offsetting the bottom piece by 0.1mm :( It skeins and prints fine though. This thing is part of a set: - spur gears: http://www.thingiverse.com/thing:1336 <b>UPDATE</b>: I'm printing some gears and noticed a couple mistakes on the openSCAD script: the variable 'orientation' wasn't doing anything and the value 'extrudeInDiam' was in fact being used as radius. They're both fixed now and I uploaded a new version of the script.
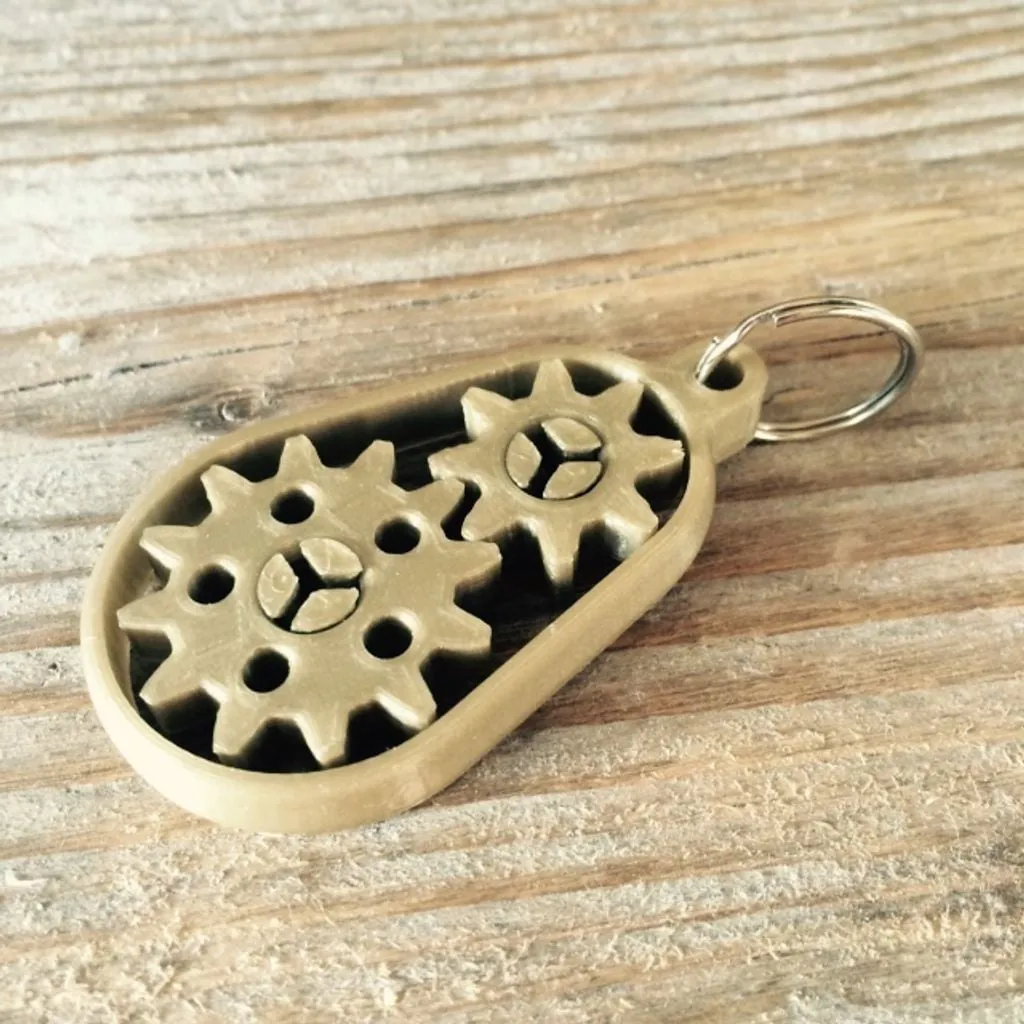
Gearbox Keychain
This Gearbox Keychain has two working gears. They spin smoothly and have a gear ratio of 1.5:1 (12:8). Other ratios will be uploaded soon! Use a little lube to make it run even smoother! As always, we don't like wasting material, so we designed it in a way that you won't need any support material. 3D Print this one and show yours!
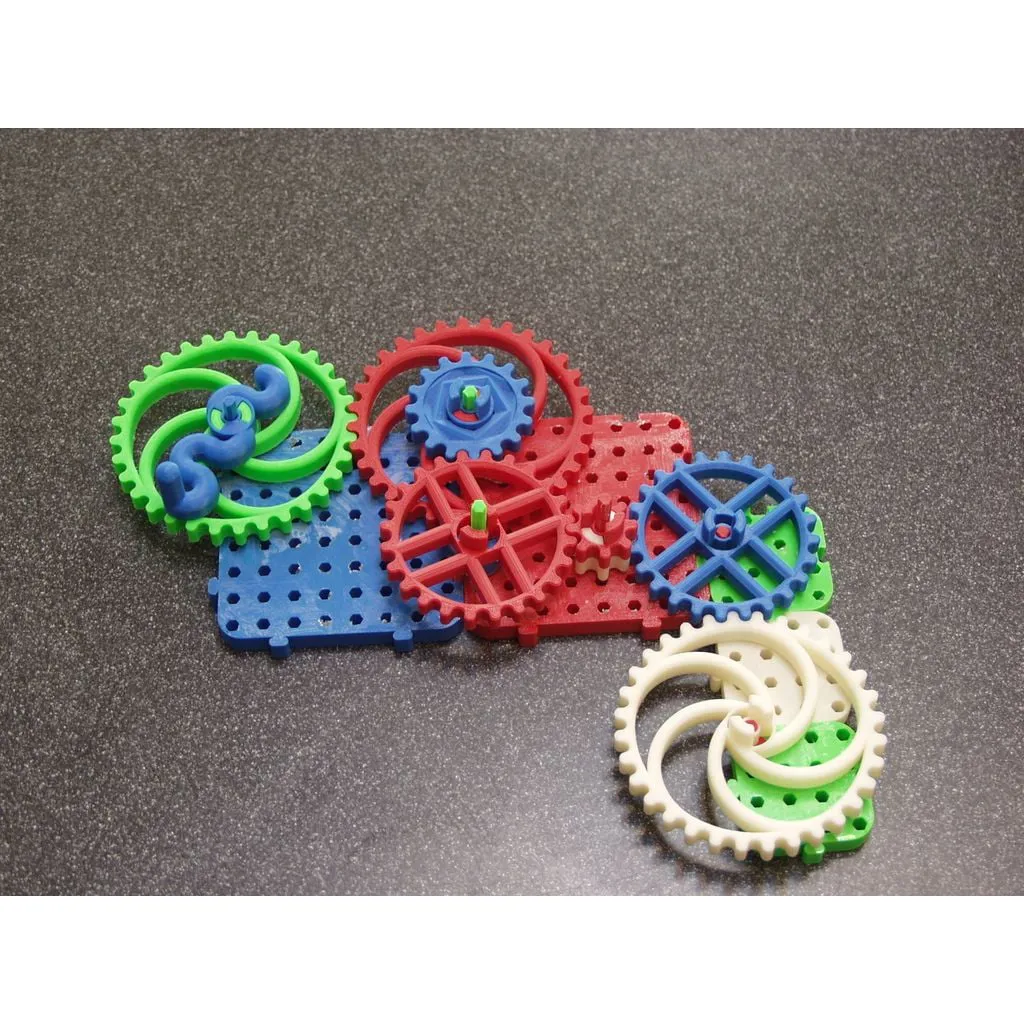
Sam's Gears
My nephew Sam has a birthday coming up, so I designed and made him this gear toy. This set has gears of multiple sizes and lets you stack gears together so you can make different gear ratios. For the base you can either print out the included base, or use a sheet of pegboard from the hardware store to go really big.
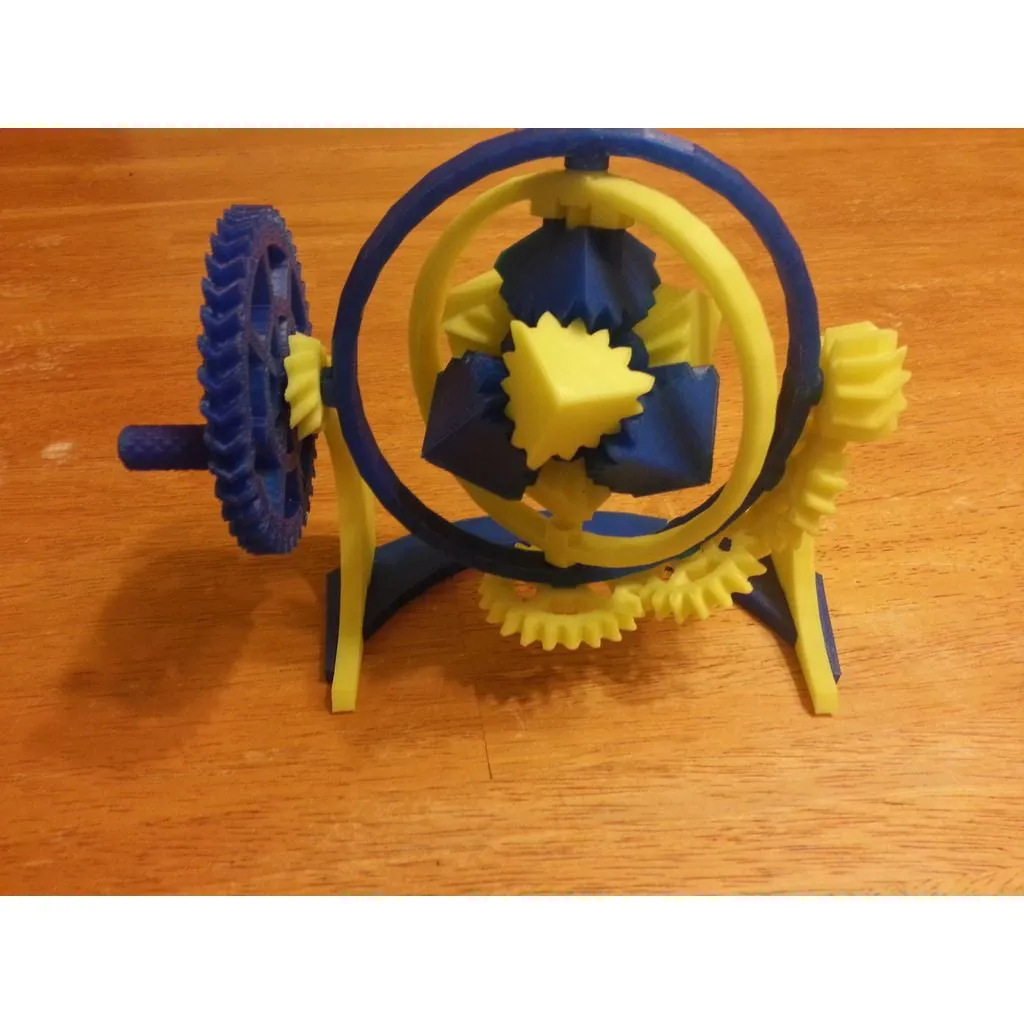
The Amazing Gyroscopic Cube Gears!
Update - I have re-printed and assembled this and in the process made several changes to make this much easier to print and assemble. With the changes that I made, I only had a couple spots where I had very minor edge cleanup because of the first layer being squeezed for adhesion. I have removed the need for sanding and other finish work that was previously needed. (I do however still recommend lubrication). I also wrote a full set of assembly instructions with pictures detailing my process for assembly. I hope that this helps those who build this and I thank those who made it through the assembly with my previous version. End of Update-- Come one come all and witness the thrills of the Amazing Gyroscopic Cube Gears! With a simple turn of the crank watch as the rings of the gyroscope rotate, the gears turn and the gear cube comes alive. It's simply Mesmerizing! The yellow parts on mine are printed in glow in the dark plastic which makes it even more amazing in the dark (but unfortunately does not show up with my camera). Ok, that's all I got. I was looking at the gyroscopic gimbal mount for emmett's cube gears and thought it would be really cool if it could move on its own and have the cube gears turn as well. And so I went on a mission to design, test, alter, redesign, test alter, etc, etc until I had created the Amazing Gyroscopic Cube Gears! This is the had cranked version so you have no excuse to put off making it. I used the excellent hand crank from the tiny planetary gears set. No need to wait for a motor to ship. You can build it now! I have started working on making the modifications to motorize it and it will be an easy conversion if you want to change it later. I have a couple of other projects that I am wrapping up before I finish the motorized version, but it will be coming soon. Here's a video of it in action: https://www.youtube.com/watch?v=wp33YNBuPMM And a teaser of it being driven by a $5 gear motor: https://www.youtube.com/watch?v=SI-SuvXPZQg I made the custom parts for this using tinkercad. I have made them public so that you can copy them and customize them to your liking. just search for "gyro cube gears". Here's a link to my public Tinkercad items, including these parts: https://tinkercad.com/users/2kCdTWHQpcv-joe-ethington
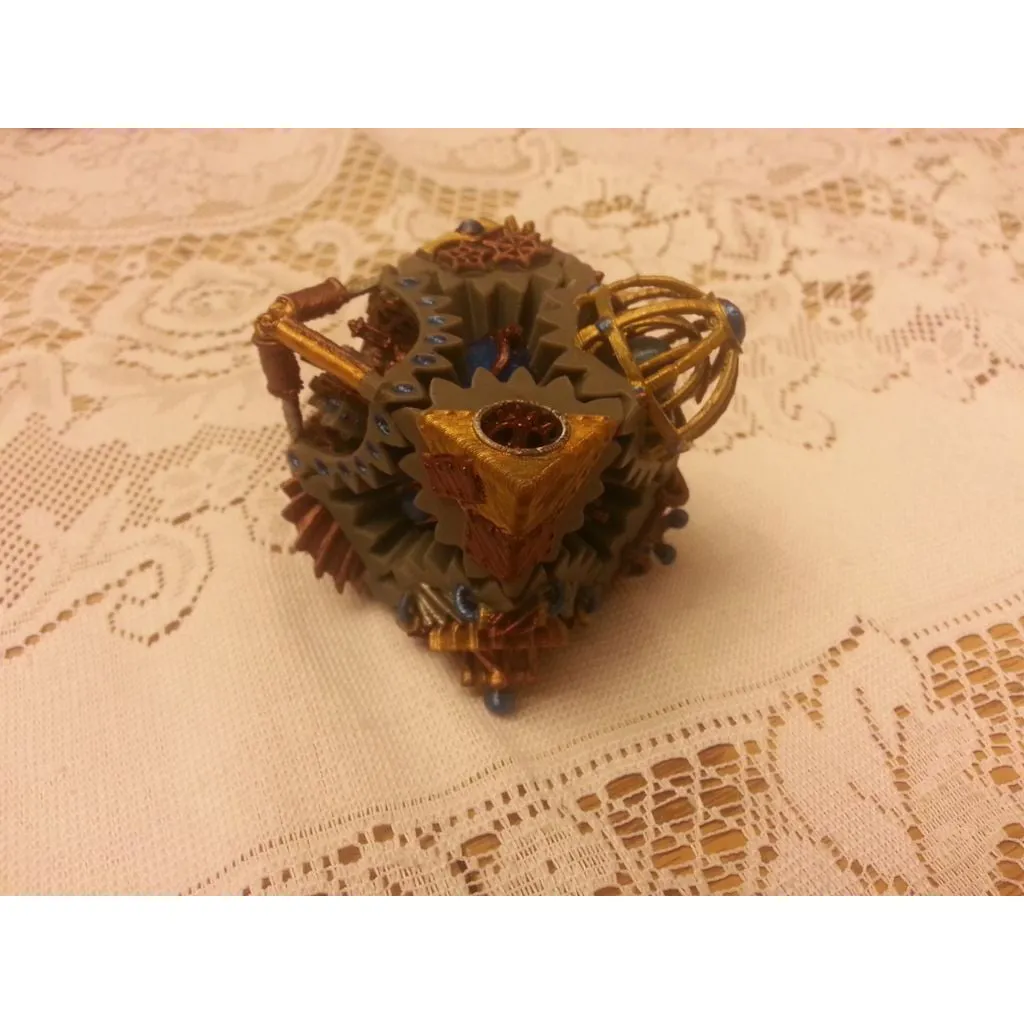
Steampunk cube gears
Update - In the _v2 large corner pieces that I just uploaded, I removed the overhang that was causing the captured pieces to stick together in some prints. I have test printed another cube and the new _v2 pieces work great. I did have to tap the bottom of two of the large corners lightly with a pair of pliers to pop the middle loose. It took much less effort than before and I think they would have stayed separate if I had turned the temp down a little more during the print. The gold pictures are of the new one. I also realized that the one corner makes a nice little stand! I was getting ready to print another copy of my Amazing Gyroscopic Cube Gears and got to thinking that while it is very cool that it is able to incorporate all of the motions it has, it is actually pretty plain. I incorporated a ton of hearts in many different ways when I created the Fantastical Gyroscopic Heart gears, but I wanted to something more artistic. 3D printing is after all a great platform for art work. So, I started thinking about what kind of styling really fit with it and immediately thought that a steampunk style would be perfect! Given that the cube gears is the center piece of the Amazing Gyroscopic Cube Gears (I really need to think of shorter names) I decided to start there and got to work. All eight of the corners and even the center piece have been steampunked. For the large gears, I wanted to add another level, so I modified them to print as two captured parts where the middle is tied to the cube center while the outside moves. This allowed me to add some interesting aspects. I felt that it wouldn't have the full effect without being painted to fit the style, so I went to the store and got an assortment of metallic acrylic paints and a fine point paint brush. I think that it turned out great! Here's a video of it: https://www.youtube.com/watch?v=aYsdtDzSaB4&feature=youtu.be Update - I added a couple of pictures of the progress I have made on the Steampunk gyroscopic cube gears I designed this cube for. The small and large rings and gears are complete and turning well. They are unpainted in the picture though. I am working on the uprights now.
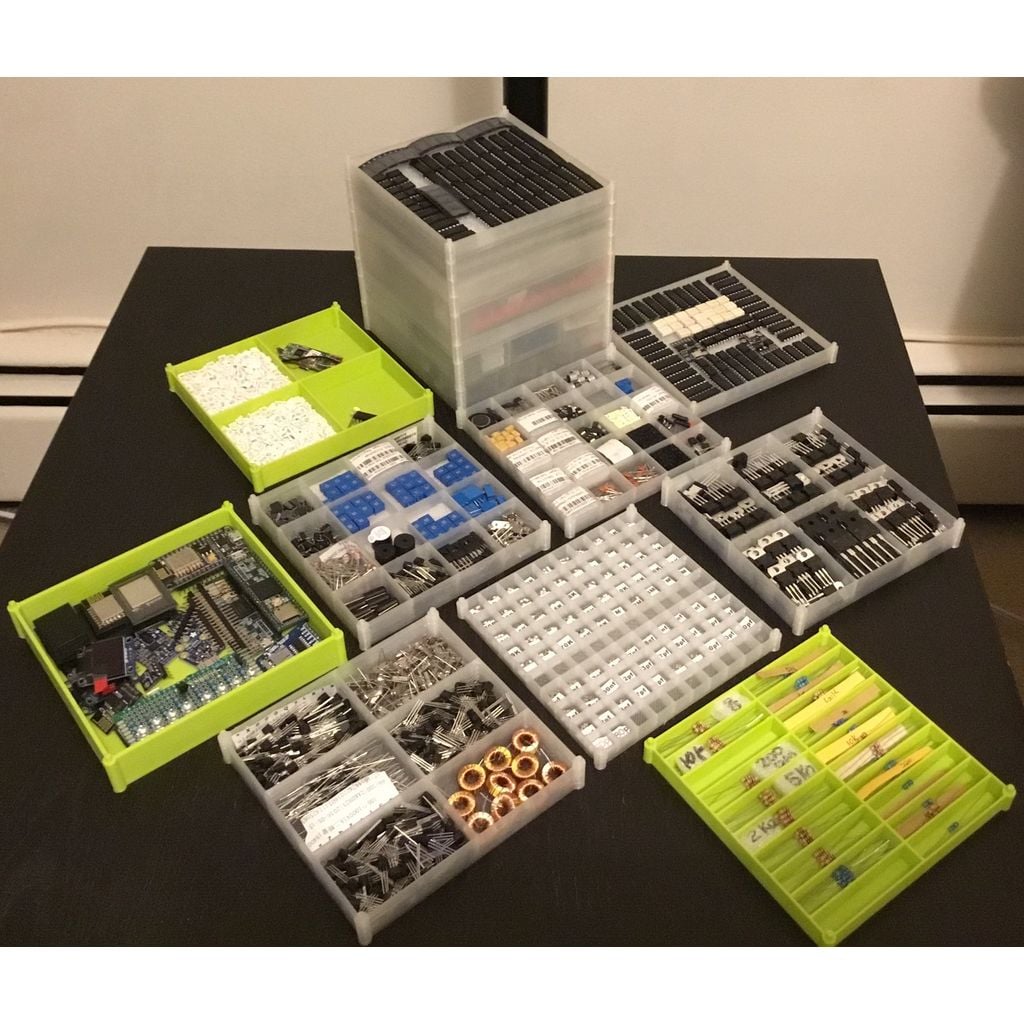
STACKABLE BINS ORGANIZER
It was designed to keep my electronic parts organized. However, it could be used for different items as well. I hope you will find it useful in your household. Dimensions: 120 mm x 120 mm There are three different heights for the same layout: 11 mm 16 mm 21 mm The same set was created with handles for safer lifting. Note: For models with handles support is not needed. Related links: Mini Version: https://www.thingiverse.com/thing:2562937 Micro Version: https://www.thingiverse.com/thing:2684082
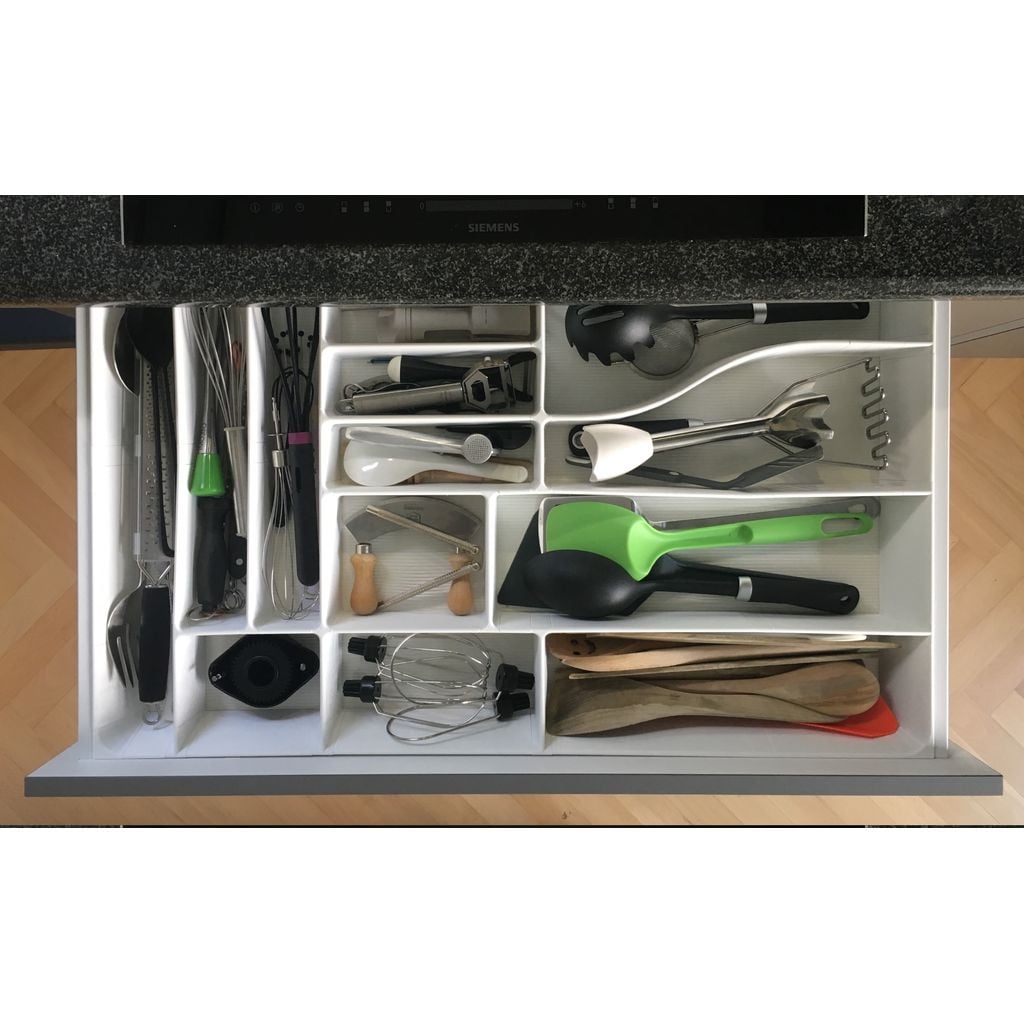
Modular Drawer Organizer
Fully parametric and modular drawer divider. Tired of drawer dividers that do not use the whole drawer or have a sub-optimal layout? Then this is the right choice for you! You can be creative and define your own design parameters and then create the perfect layout for you. Or just use the pre-created stl files and start printing immediately. When creating your own pieces, I recommend to use divider lengths that are a multiple of the connector length. Then you are more flexible to change things later. Have fun and impress me with your makes! ;-) ### Update 2020-11-19 Due to many requests I uploaded a zip file containing single STL files for all parts with quite a few different parameters. No need to split STL files anymore. I still recommend to use OpenSCAD yourself or the thingiverse customizer. You can tune many more parameters and choose any lengths you want. You only need one file for that: *drawer_organizer.scad*. Everything else is just generated from the .scad file. If you want to help improving this design, you can now report bugs, fork or send pull requests on github: https://github.com/wbu/drawer_organizer ### Update 2021-09-04 version 1.1 I added a little new feature that will create a "satisfying click" when assembling the pieces and hold them better in vertical position. Unfortunately this little bump makes the new version 1.1 connector pieces incompatible to version 1.0. The dividers from version 1.1 should work fine with version 1.0 parts. This feature can be controlled with the `snap_connection_size` parameter. The default of 1mm adds a little bump. Setting it to zero creates pieces without bump, like in version 1.0. You can also fine tune the size of the bump to your needs. ### Frequently Asked Questions > Where can I report bugs or share nice new extensions with you? On github: https://github.com/wbu/drawer_organizer > I need a hammer to bring the pieces together. What am I doing wrong? Either your printer is not tuned well, so that the printed dimensions are significantly bigger than in the STL file and/or the first layer is squashed and therefore wider. I recommend to use a "elephant foot removal" option in your slicer to fix the first layer. If this is not sufficient, then you can tune the extrusion settings of your printer or increase the `gap` parameter of this thing from the default of 0.15mm to something bigger. You then have to create your own STL files with openscad. To create many stl files automatically you can use the `make_stl.py` python script. > The pieces really do not fit together! That's not a question. You are probably trying to fit border pieces with non-border pieces. The border parts are thinner (and may be tilted). Especially the border t-connector is often causing confusion, as it connects the thinner border pieces with the thicker inner pieces:  > Why are the border pieces tilted? Border pieces with a non zero `border_overhang` setting are tilted. The side walls of my drawer are tilted on the inside, so I had to tilt the border pieces to not have any gaps. If all four sides of your drawer are vertical you can use `border_overhang=0` pieces. Beware, that the border pieces are still asymmetric. The outer side is vertical, the inner side is very slightly tilted. > Why can I not slice rounded border T connectors with PrusaSlicer? See https://github.com/wbu/drawer_organizer/issues/4 for details. In Summary: This was an issue in PrusaSlicer, that is fixed now with PrusaSlicer version 2.4.0. > Why is the bend divider geometry broken? I *think* this is an issue with openscad or it's rendering library cgal, but I am not 100% sure. I need to investigate this more. So far I was lucky and could successfully slice the pieces that I needed. > Did you suffer brain damage while working with openscad? Yes. It was a great learning experience. Things that I learned: Thingiverse, especially the customizer, is very broken. It's not worth it to use openscad just to support the thingiverse customizer. Openscad is really slow and some things are really hard to do with it. If I would start from scratch, I would consider using https://github.com/Haskell-Things/ImplicitCAD or freecad.
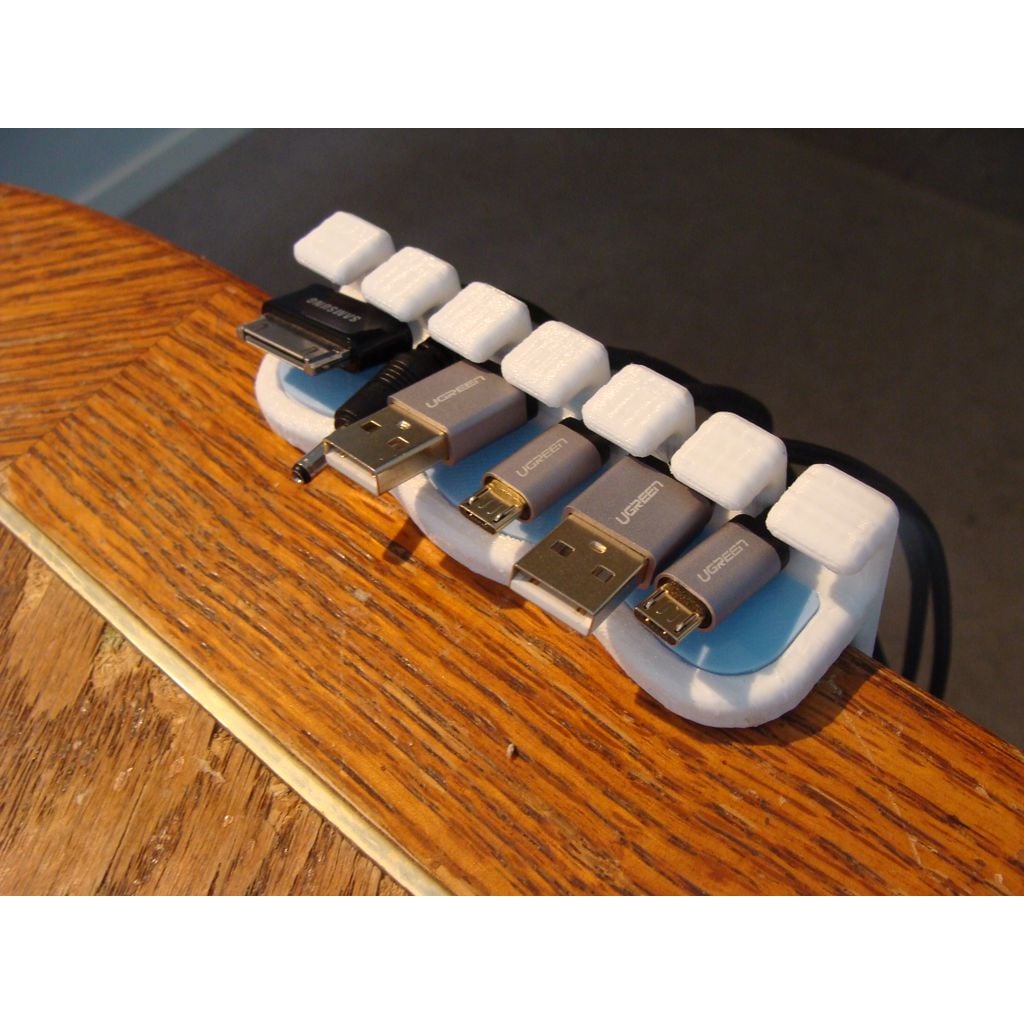
USB Cable Organizer
USB Cable Organizer I designed this USB cable organizer so that I would be able to move it if I necessary. I have included 4 different versions, a straight and a curved version with a snap-in insert and also a straight and a curved version without an insert This was the first time I tried to design an snap together Thing, and it turned out fairly well. Please let me know if you have any problems. I designed this for a standard (1 1/2") (38 mm) thick table. If your table is a different thickness, message me with the size, and I will try to help you out. Also if you have a different wire diameter I will modify it if possible. EDIT I have included a longer clamp screw to accommodate for a thinner table. EDIT January 17 2019 I added a 26 mm standard version that will fit a 1 inch table. EDIT February 08 2019 Added a 30 mm version at the request of a member. EDIT February 10 2019 Added a 52 mm version at the request of a member. EDIT May 13, 2019 2019 Added a no bottom version at the request of a member. You can use two-way adhesive tape to secure it. EDIT July 09 2019 Added a 22 mm version at the request of a member. EDIT August 22 2019 Added a 22 mm version with wider slots at the request of a member EDIT October 02 2019 Added a 147 mm version at the request of a member. EDIT October 08 2019 Added a 97 mm version at the request of a member. EDIT Nov 17 2019 Added a 40 mm version at the request of a member. EDIT Jan !6 2020 Added a 36 mm version at the request of a member EDIT Feb 3 2020 Added a 36 mm version with wider slots at the request of a member. EDIT May 17 2020 Added a 17 mm version at the request of a member. EDIT August 2020 Added a longer version that can be screwed on along with a shorter version that can be screwed on. https://www.thingiverse.com/thing:2892387
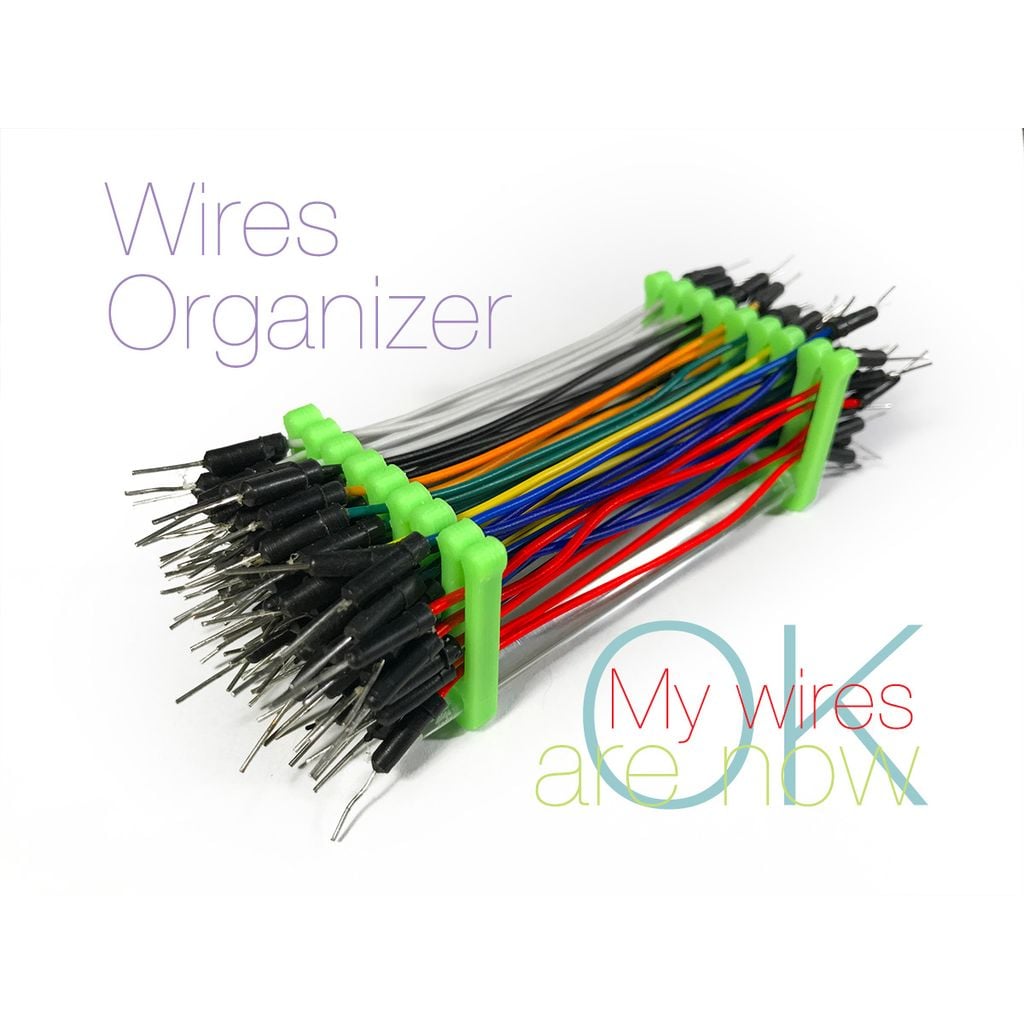
Wires Organizer
<h2>Wires Organizer</h2><div><font size="2">Wires Organizer will help you get rid of the mess on your desktop while you create the layout of an electronic project</font><br><br></div><h5>See the video for details:</h5><div> <a href="https://youtu.be/RpFmDQFg8Io" target="_blank" rel="noopener noreferrer"><img src="https://like-it.link/0218/wires-organizer-youtube.jpg"></a> </div><div><font size="2"><b><font color="#008000">If you liked this thing - let me know by putting like!</font></b><br></font></div><h3>Parts links below:</h3><div><ul><li><font size="2"> <a href="https://go.like-it.link/tlWky" target="_blank" rel="noopener noreferrer">Acrylic rods</a> </font></li><li><font size="2"> <a href="https://go.like-it.link/ENXk9" target="_blank" rel="noopener noreferrer">TopZeal Filament ABS</a> </font></li><li><font size="2"> <a href="https://go.like-it.link/hWspa" target="_blank" rel="noopener noreferrer">Male to Male Breadboard Jumper Cable Wires</a> </font></li><li><font size="2"> <a href="https://go.like-it.link/H18qX" target="_blank" rel="noopener noreferrer">Breadboards</a> </font></li><li> <a href="https://go.like-it.link/F3rfm" target="_blank" rel="noopener noreferrer"><font size="2">400 Tie Points PCB Breadboard</font></a> </li></ul></div><h3>Links to used tools:</h3><div><ul><li><font size="2"> <a href="https://go.like-it.link/h5jhx" target="_blank" rel="noopener noreferrer">NOGA deburring tool and Blades</a> </font></li><li><font size="2"> <a href="https://go.like-it.link/HgVPF" target="_blank" rel="noopener noreferrer">UV Glue</a> </font></li><li> <a href="https://go.like-it.link/5g3K4" target="_blank" rel="noopener noreferrer"><font size="2">Super Glue 502</font></a> </li></ul></div> <div><h3>My new machine:</h3> <a href='https://like-it.link/machine1' target='_blank' rel='noopener noreferrer'><img src='https://like-it.link/mch1.jpg' /></a> <a href='https://like-it.link/machine2' target='_blank' rel='noopener noreferrer'><img src='https://like-it.link/mch2.jpg' /></a> <a href='https://like-it.link/machine3' target='_blank' rel='noopener noreferrer'><img src='https://like-it.link/mch3.jpg' /></a> <a href='https://like-it.link/machine4' target='_blank' rel='noopener noreferrer'><img src='https://like-it.link/mch4.jpg' /></a> <a href='https://like-it.link/machine5' target='_blank' rel='noopener noreferrer'><img src='https://like-it.link/mch5.jpg' /></a> </div> <h3>My favorites:</h3> <a href="https://like-it.link/favorites" target="_blank" rel="noopener noreferrer"><img src="https://like-it.link/fav.jpg"></a> <h4><font size="3">Thank you for every tip or donation,<br>it means great recognition for me and helps a lot to keep going!</font></h4><div> <a href="https://www.paypal.me/perinski" target="_blank"><img src="https://like-it.link/img/pp.png" alt="Donate now" title="Donate now"></a> <a href="https://yoomoney.ru/to/410011477865967?lang=en" target="_blank"><img src="https://like-it.link/img/yoo.png" alt="Donate now" title="Donate now"></a> <br></div><div><br></div><h3>My some other things:</h3><div> <a href="https://like-it.link/thingiverse" rel="noopener noreferrer"><img src="https://like-it.link/thing.jpg"></a> </div><img src="https://like-it.link/0418.png"> <br><br><h4>3D Printer • Accessories</h4><br> <a href="https://www.thingiverse.com/thing:6671987" title="Case for BTT Closed Loop Driver S42C"><img src="https://like-it.link/02292/Case-for-BTT-Closed-Loop-Driver-S42C.jpg" alt="Case for BTT Closed Loop Driver S42C" /></a> <a href="https://www.thingiverse.com/thing:6662185" title="Cable-Hose Organizer for VzBoT"><img src="https://like-it.link/02287/Cable-Hose-Organizer-for-VzBoT.jpg" alt="Cable-Hose Organizer for VzBoT" /></a> <a href="https://www.thingiverse.com/thing:6213833" title="3D Printers Adhesive : Marker Foot"><img src="https://like-it.link/02277/3D-Printers-Adhesive-:-Marker-Foot.jpg" alt="3D Printers Adhesive : Marker Foot" /></a> <a href="https://www.thingiverse.com/thing:6198629" title="Filament Spool Stand v2 Test Creality K1"><img src="https://like-it.link/02275/Filament-Spool-Stand-v2-Test-Creality-K1.jpg" alt="Filament Spool Stand v2 Test Creality K1" /></a> <a href="https://www.thingiverse.com/thing:6198658" title="Carbon Filter Grid Creality K1"><img src="https://like-it.link/02274/Carbon-Filter-Grid-Creality-K1.jpg" alt="Carbon Filter Grid Creality K1" /></a> <a href="https://www.thingiverse.com/thing:6062005" title="Geeetech Mizar M Second Head Storage Box"><img src="https://like-it.link/02265/Geeetech-Mizar-M-Second-Head-Storage-Box.jpg" alt="Geeetech Mizar M Second Head Storage Box" /></a> <a href="https://www.thingiverse.com/thing:6055510" title="Rugged Box testdrive Artillery Sidewinder 2"><img src="https://like-it.link/02264/Rugged-Box-testdrive-Artillery-Sidewinder-2.jpg" alt="Rugged Box testdrive Artillery Sidewinder 2" /></a> <a href="https://www.thingiverse.com/thing:5805864" title="Led Lamp for your DIY"><img src="https://like-it.link/02254/Led-Lamp-for-your-DIY.jpg" alt="Led Lamp for your DIY" /></a> <a href="https://www.thingiverse.com/thing:5777742" title=" Filament Spool Stand"><img src="https://like-it.link/02253/Filament-Spool-Stand.jpg" alt=" Filament Spool Stand" /></a> <a href="https://www.thingiverse.com/thing:4513198" title="Pruša i4 Plus"><img src="https://like-it.link/02130/Prusa-i4-Plus.jpg" alt="Pruša i4 Plus" /></a> <a href="https://www.thingiverse.com/thing:4441096" title="High Precision GT2 Pulley"><img src="https://like-it.link/02128/High-Precision-GT2-Pulley.jpg" alt="High Precision GT2 Pulley" /></a> <a href="https://www.thingiverse.com/thing:4434126" title="Air Duct for Blower 4020"><img src="https://like-it.link/02127/Air-Duct-for-Blower-4020.jpg" alt="Air Duct for Blower 4020" /></a> <a href="https://www.thingiverse.com/thing:4427464" title="Filament Clip"><img src="https://like-it.link/02126/Filament-Clip.jpg" alt="Filament Clip" /></a> <a href="https://www.thingiverse.com/thing:4426587" title="Cable Clip for vProfile 20x20"><img src="https://like-it.link/02125/Cable-Clip-for-vProfile-20x20.jpg" alt="Cable Clip for vProfile 20x20" /></a> <a href="https://www.thingiverse.com/thing:4358468" title="Remote Direct Drive"><img src="https://like-it.link/02121/Remote-Direct-Drive.jpg" alt="Remote Direct Drive" /></a> <a href="https://www.thingiverse.com/thing:4350803" title="Light for BMG Aero Extruder"><img src="https://like-it.link/02120/Light-for-BMG-Aero-Extruder.jpg" alt="Light for BMG Aero Extruder" /></a> <a href="https://www.thingiverse.com/thing:4349341" title="BL Touch Support"><img src="https://like-it.link/02119/BL-Touch-Support.jpg" alt="BL Touch Support" /></a> <a href="https://www.thingiverse.com/thing:4343142" title="PCB Extruder and Case"><img src="https://like-it.link/02118/PCB-Extruder-and-Case.jpg" alt="PCB Extruder and Case" /></a> <a href="https://www.thingiverse.com/thing:4332963" title="Nozzle Torque Wrench"><img src="https://like-it.link/02117/Nozzle-Torque-Wrench.jpg" alt="Nozzle Torque Wrench" /></a> <a href="https://www.thingiverse.com/thing:4283986" title="Adaptive Spool Holder"><img src="https://like-it.link/02115/Adaptive-Spool-Holder.jpg" alt="Adaptive Spool Holder" /></a> <a href="https://www.thingiverse.com/thing:4283390" title="linear X-Axis Upgrade for Pruša i4"><img src="https://like-it.link/02114/linear-X-Axis-Upgrade-for-Prusa-i4.jpg" alt="linear X-Axis Upgrade for Pruša i4" /></a> <a href="https://www.thingiverse.com/thing:4230645" title="Automatic nozzle cleaner"><img src="https://like-it.link/02110/Automatic-nozzle-cleaner.jpg" alt="Automatic nozzle cleaner" /></a> <a href="https://www.thingiverse.com/thing:4220462" title="New Linear Motion for Pruša i4"><img src="https://like-it.link/02108/New-Linear-Motion-for-Prusa-i4.jpg" alt="New Linear Motion for Pruša i4" /></a> <a href="https://www.thingiverse.com/thing:4210403" title="Knob for Insert Nut M4 H5"><img src="https://like-it.link/02107/Knob-for-Insert-Nut-M4-H5.jpg" alt="Knob for Insert Nut M4 H5" /></a> <a href="https://www.thingiverse.com/thing:3883835" title="Holder for extender SD Card"><img src="https://like-it.link/0294/Holder-for-extender-SD-Card.jpg" alt="Holder for extender SD Card" /></a> <a href="https://www.thingiverse.com/thing:3880233" title="Brake for Filament Spool"><img src="https://like-it.link/0293/Brake-for-Filament-Spool.jpg" alt="Brake for Filament Spool" /></a> <a href="https://www.thingiverse.com/thing:3857824" title="Filament Runout Sensor v2"><img src="https://like-it.link/0291/Filament-Runout-Sensor-v2.jpg" alt="Filament Runout Sensor v2" /></a> <a href="https://www.thingiverse.com/thing:3846105" title="Linear X-Axis Stabilizer for Pruša i4"><img src="https://like-it.link/0286/Linear-X-Axis-Stabilizer-for-Prusa-i4.jpg" alt="Linear X-Axis Stabilizer for Pruša i4" /></a> <a href="https://www.thingiverse.com/thing:3824526" title="Led Light for Extruder"><img src="https://like-it.link/0282/Led-Light-for-Extruder.jpg" alt="Led Light for Extruder" /></a> <a href="https://www.thingiverse.com/thing:3819318" title="Led Light for 3D printer"><img src="https://like-it.link/0281/Led-Light-for-3D-printer.jpg" alt="Led Light for 3D printer" /></a> <a href="https://www.thingiverse.com/thing:3808567" title="Knob for nut M8. Print with nut insert"><img src="https://like-it.link/0250/Knob-for-nut-M8.jpg" alt="Knob for nut M8. Print with nut insert" /></a> <a href="https://www.thingiverse.com/thing:3782929" title="Cable holder and other for Pruša i4"><img src="https://like-it.link/0249/Cable-holder-and-other-for-Prusa-i4.jpg" alt="Cable holder and other for Pruša i4" /></a> <a href="https://www.thingiverse.com/thing:3782821" title="Stand for bottle with oil"><img src="https://like-it.link/0248/Stand-for-bottle-with-oil.jpg" alt="Stand for bottle with oil" /></a> <a href="https://www.thingiverse.com/thing:3782761" title="Linear Motion for Pruša i4"><img src="https://like-it.link/0247/Linear-Motion-for-Prusa-i...
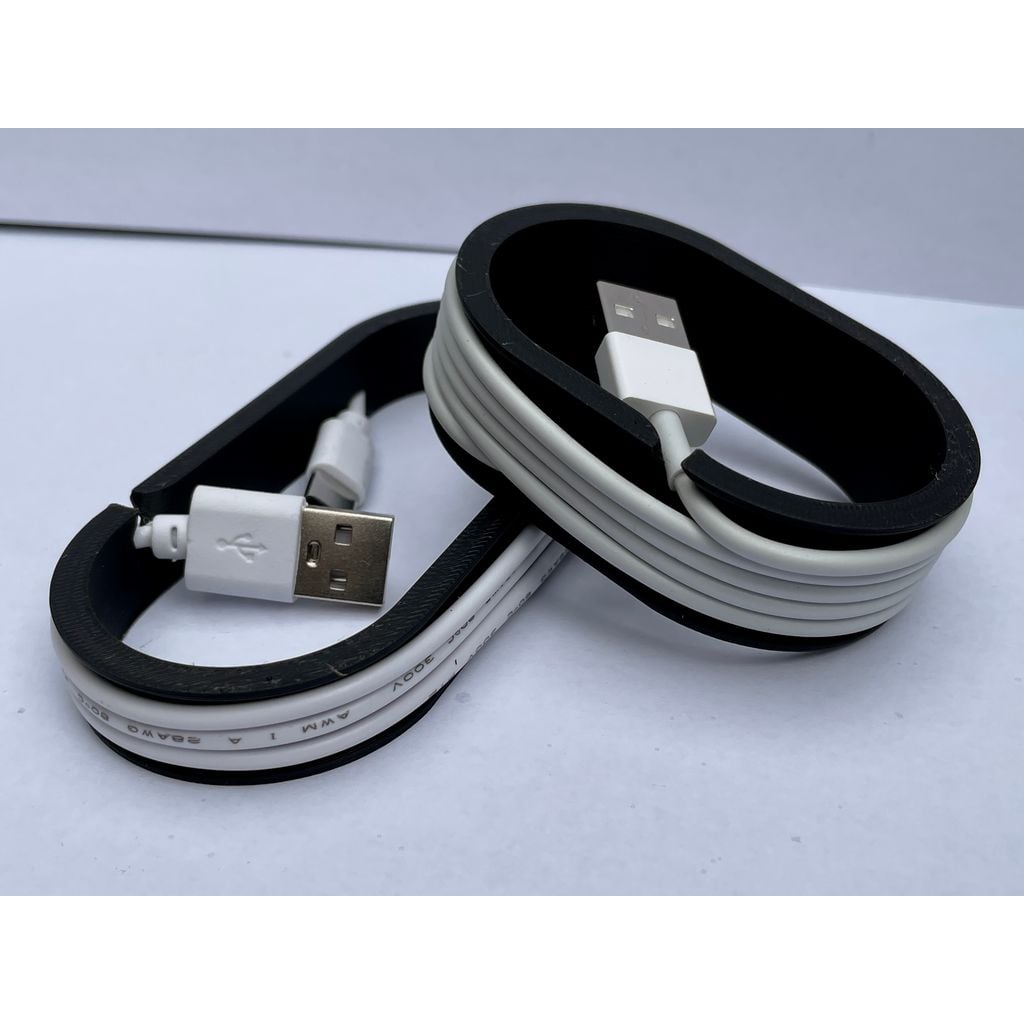
Customizable cable organizer
###Introduction Tired of tangled wires and cables and looking for a way to solve the mess? Seek no more! This customizable cable organizer can be fitted to almost any cable with just a few and easy measurements. With this cable organizer you can be sure to always keep your cables in order. ###Why did I make this? All of my cables used to be wrapped around themselves and thereby creating a possible mess of tangled wires. Therefore, I thought to myself that a 3D printer could bring me a solution. From then on, I came up with this design which I am very pleased with. I also made a simple stand which, should be able to hold the cable organizers. ###How to make your own cable organizer… **Note:** To make your own cable organizer you will need Fusion360 or to use the customizer on [Makerworld](https://makerworld.com/en/models/992630-customizable-cable-organizer#profileId-975167). [Fusion360 is available for free on Autodesk.com (for personal use only).](https://www.autodesk.com/products/fusion-360/personal) Since almost all cables are different, you need to do a bit of measuring of your cable. You need to measure the following: 1. **The thickness of your cable in mm.** I did this by using a caliper and taking numerous measurements to correct any possible errors. 2. **The length of the cable in mm.** Be sure to measure only the cable length **without** the end plugs/connectors (as shown in the image below). Keep in mind, that it is better to measure the cable too short than a little too long! When you got the cable thickness and the cable length, you need to open the uploaded Fusion360 file and in the top menu choose Modify → Change parameters. Now a new window with parameters should pop up, in which you can enter the desired cable length and thickness (see the image below). The models should update automatically. If you do not have access to a Fusion360 account or do not know how to operate Fusion360, feel free to reach out to me. From then on, you can choose the model with the number of layers you want, however there are some limitations: **File: CustomizableCableOrganizer.f3d** 1 layer = minimum cable length of 178 mm (17.8 cm) 2 layers = minimum cable length of 375 mm (37.5 cm) 3 layers = minimum cable length of 572 mm (57.2 cm) 4 layers = minimum cable length of 769 mm (76.9 cm) 5 layers = minimum cable length of 966 mm (96.6 cm) **File: Longer_CustomizableCableOrganizer.f3d** 7 layers = minimum cable length of 1360 mm (136.0 cm) 10 layers = minimum cable length of 1951 mm (195,1 cm) 12 layers = minimum cable length of 2345 mm (234,5 cm) 15 layers = minimum cable length of 2936mm (293,6 cm) 17 layers = minimum cable length of 3330 mm (333,0 cm) 20 layers = minimum cable length of 3921 mm (392,1 cm) 22 layers = minimum cable length of 4315 mm (431,5 cm) 25 layers = minimum cable length of 4906 mm (490,6 cm) 27 layers = minimum cable length of 5300 mm (530,0 cm) 30 layers = minimum cable length of 5891 mm (589,1 cm) Be sure to reach out to me if you got any questions about this process. ###How to make your own cable organizer stand… In case you want to use the simple stand, you need to know how long you want the stand to be, which is most likely the thickness of all the cable organizers you want to store in the stand. Therefore, you need to measure the thickness of the organizers you want to store, and enter that value as with the cable organizers: Fusion360 → Modify → Change parameters. ###Files I have uploaded three files. 1. A Fusion360 file that contains the different designs for the customizable cable organizers. 2. A Fusion360 file that contains support for even longer cables. 3. A .stl file which should work with an original Apple 1 meter cable. Tested with USB-A to Lightning. 4. A .stl file which should work with an original Apple ∼1 meter USB-C to USB-C cable. ###Time to create your own cable organizers and tidy up the cable mess! Feel free to post makes, leave a like, a comment or any questions you might have :D ---- ###Updates... **Update 07-11-2024** A new .stl file has been added. This one should work with an original Apple ∼1 meter USB-C to USB-C cable. **Update 03-10-2024** Errors were found in both the normal and the long version of the Customizable Cable Organizer causing Fusion360 to destroy the model. The errors have now been fixed and new tested files have been uploaded.
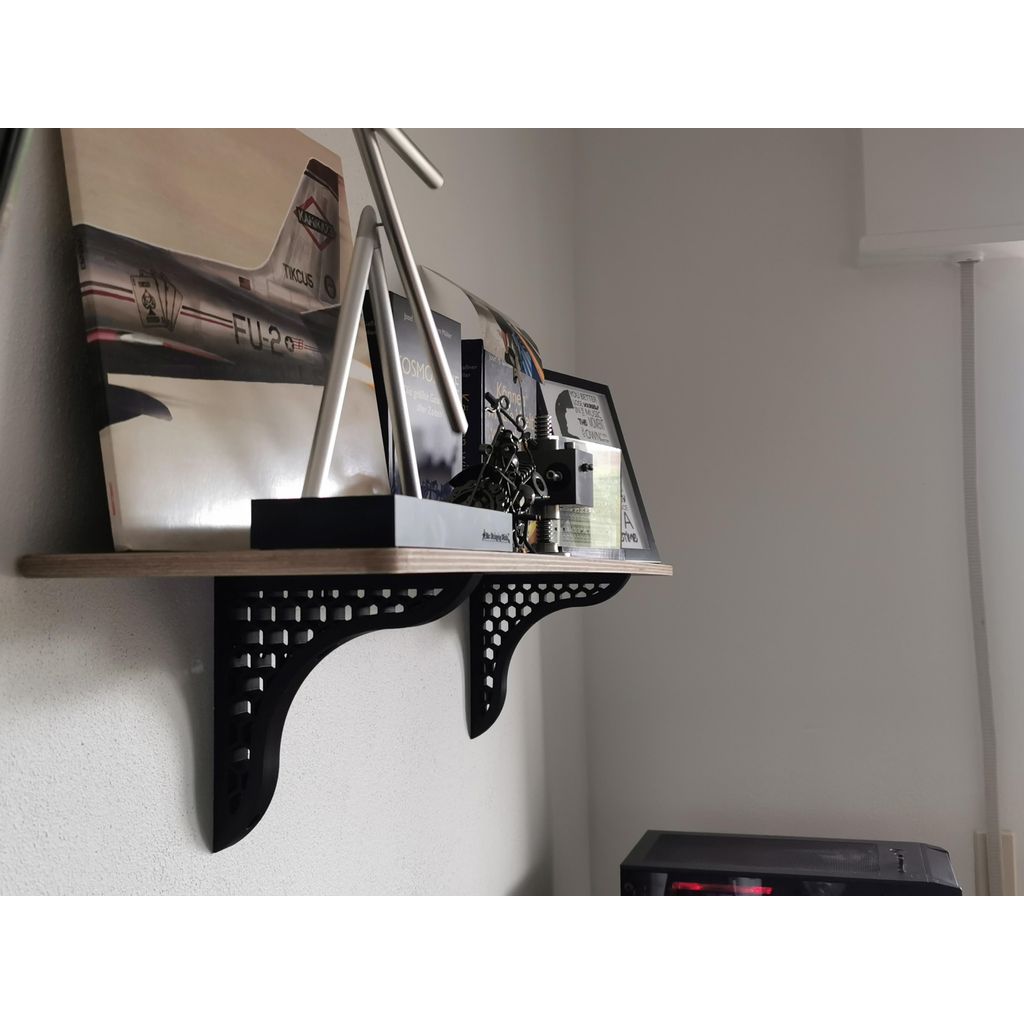
Shelf Bracket
Shelf bracket (18 cm x 18 cm) for heavy loads. I mounted them with 4.5 mm thick screws. If you have optical or technical suggestions for improvements please leave a comment. And if you like it, show me with a make.